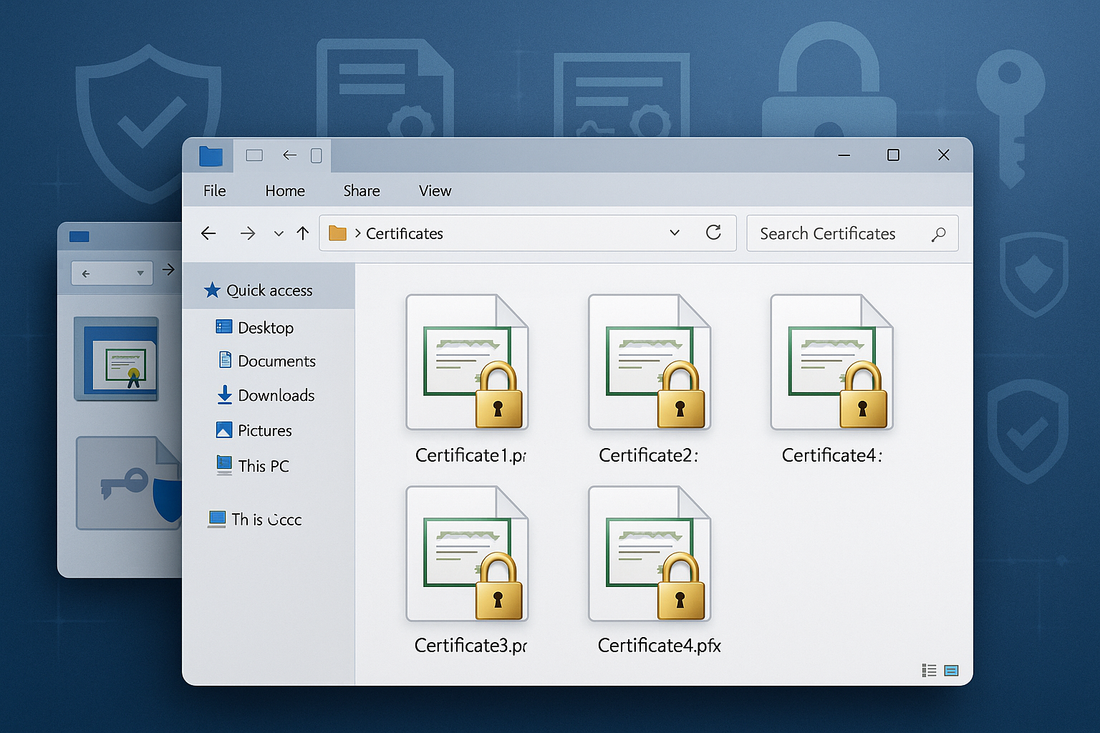
PFX Files in Windows
Zane LucasShare
PFX files represent a crucial component for SSL Certificate management in Windows environments, providing a secure container that combines SSL Certificates and private keys into a single, password-protected file.
For Windows administrators and IT professionals working with SSL Certificates, understanding how to create, import, and manage PFX files is essential for successful SSL Certificate deployment on Windows servers and applications.
This article explores PFX file creation, import procedures, and best practices for Windows SSL Certificate management.
Understanding PFX Files
A PFX file, also known as PKCS#12 format, serves as a binary format that can store SSL Certificates, intermediate certificates, and private keys in a single encrypted container.
Windows systems natively support PFX files, making them the preferred format for SSL Certificate installation on IIS servers, Exchange servers, and other Microsoft applications.
The password protection inherent in PFX files ensures secure transportation and storage of sensitive cryptographic materials.
Benefits of PFX Format
PFX files offer several advantages for Windows SSL Certificate management. The single-file format simplifies SSL Certificate deployment and reduces the risk of missing components during installation.
Password protection provides an additional security layer, ensuring that even if the file is compromised, the contents remain protected without the correct password.
The format's compatibility across different Windows applications and services makes it ideal for enterprise environments.
Creating PFX Files Using OpenSSL
System administrators can create PFX files using OpenSSL command-line tools when they have separate SSL Certificate and private key files.
This process combines the individual components into a single PFX container suitable for Windows deployment.
OpenSSL PFX Creation Command
To create a PFX file from separate SSL Certificate and private key files, use the following OpenSSL command :
openssl pkcs12 -export -out certificate.pfx -inkey private.key -in certificate.crt -certfile chain.crt
This command combines the private key (private.key), SSL Certificate (certificate.crt), and certificate chain (chain.crt) into a single PFX file.
The system will prompt for a password to protect the PFX file during creation.
Using Trustico® PFX Converter Tool
For users who prefer a web-based solution, Trustico® provides a convenient PFX converter tool at https://tools.trustico.com/pfx 🔗
This online tool simplifies the PFX creation process by allowing users to upload their SSL Certificate and private key files directly through a secure web interface.
PFX Converter Process
The Trustico® PFX converter tool streamlines SSL Certificate conversion with an intuitive interface. Users simply upload their private key file and SSL Certificate file, set a password for the PFX file, and download the resulting PFX container.
This method eliminates the need for command-line tools and provides a user-friendly alternative for creating PFX files.
The tool supports standard PEM format SSL Certificates and private keys, automatically handling the conversion process.
Importing PFX Files in Windows
Windows provides multiple methods for importing PFX files, depending on the target application and deployment requirements.
The most common approaches include using the Certificate Import Wizard, IIS Manager, or PowerShell commands.
Using Certificate Import Wizard
The Windows Certificate Import Wizard provides a graphical interface for importing PFX files into the Windows certificate store.
Access the wizard by double-clicking the PFX file or through the Microsoft Management Console (MMC) with the Certificates snap-in.
During the import process, specify the certificate store location, typically Local Machine for server certificates, and enter the PFX file password when prompted.
IIS Manager Import Process
For web server deployments, IIS Manager offers direct PFX import functionality. Navigate to the Server Certificates section in IIS Manager and select Import.
Browse to your PFX file, enter the password, and choose the appropriate certificate store. The imported SSL Certificate becomes available for binding to websites within IIS.
PowerShell PFX Management
Advanced administrators can use PowerShell commands for automated PFX file management and deployment.
PowerShell provides precise control over certificate store placement and can be integrated into deployment scripts.
PowerShell Import Commands
To import a PFX file using PowerShell, use the Import-PfxCertificate cmdlet :
Import-PfxCertificate -FilePath "C :\path\to\certificate.pfx" -CertStoreLocation Cert :\LocalMachine\My -Password (ConvertTo-SecureString -String "password" -AsPlainText -Force)
This command imports the PFX file into the Personal certificate store of the local machine, making it available for IIS and other Windows services.
Configuring SSL Certificates in IIS
After importing the PFX file, configure SSL Certificate bindings in IIS to enable HTTPS connections.
Select your website in IIS Manager, access Bindings, and add or edit HTTPS bindings to use the imported SSL Certificate.
SSL Binding Configuration
When configuring SSL bindings, ensure the correct SSL Certificate is selected from the dropdown list. Verify that the binding uses port 443 for standard HTTPS connections.
For websites requiring SNI (Server Name Indication), enable the appropriate checkbox to support multiple SSL Certificates on a single IP address.
Troubleshooting PFX Issues
Common PFX-related problems include password errors, corrupted files, or incomplete certificate chains.
When encountering import failures, verify the PFX file integrity and ensure the password is correct.
Resolving Import Errors
If PFX import fails, check that the file contains all necessary components, including the private key and complete certificate chain.
Use OpenSSL commands to verify PFX file contents and identify missing elements :
openssl pkcs12 -info -in certificate.pfx
This command displays the PFX file contents, helping identify structural issues or missing certificates.
Security Best Practices
Protecting PFX files requires implementing strong security measures throughout their lifecycle.
Use complex passwords for PFX file protection and store files in secure locations with restricted access permissions.
PFX File Management
Maintain secure backups of PFX files in encrypted storage systems. Implement access controls to limit who can create, import, or export PFX files within your organization.
Regular security audits should verify proper PFX file handling and identify any unauthorized certificate installations.
What's Next
PFX files provide an efficient and secure method for SSL Certificate deployment in Windows environments.
Whether creating PFX files using OpenSSL commands or utilizing the convenient Trustico® PFX converter tool, proper understanding of the format ensures successful SSL Certificate implementation.
By following best practices for PFX creation, import, and management, organizations can maintain robust SSL Certificate security while simplifying deployment procedures across their Windows infrastructure.
Trustico® continues to provide comprehensive SSL Certificate solutions and tools, including the PFX converter, to support efficient SSL Certificate management for Windows environments.